SHELF LOVE SERIES: DIVERGENT

Team A is embarking on a new series called Shelf Love where they read a book and review it. They are currently interested in books that have been made in movies and are comparing the similarities and differences between the two and sharing their thoughts. This will become a regular series on the blog!

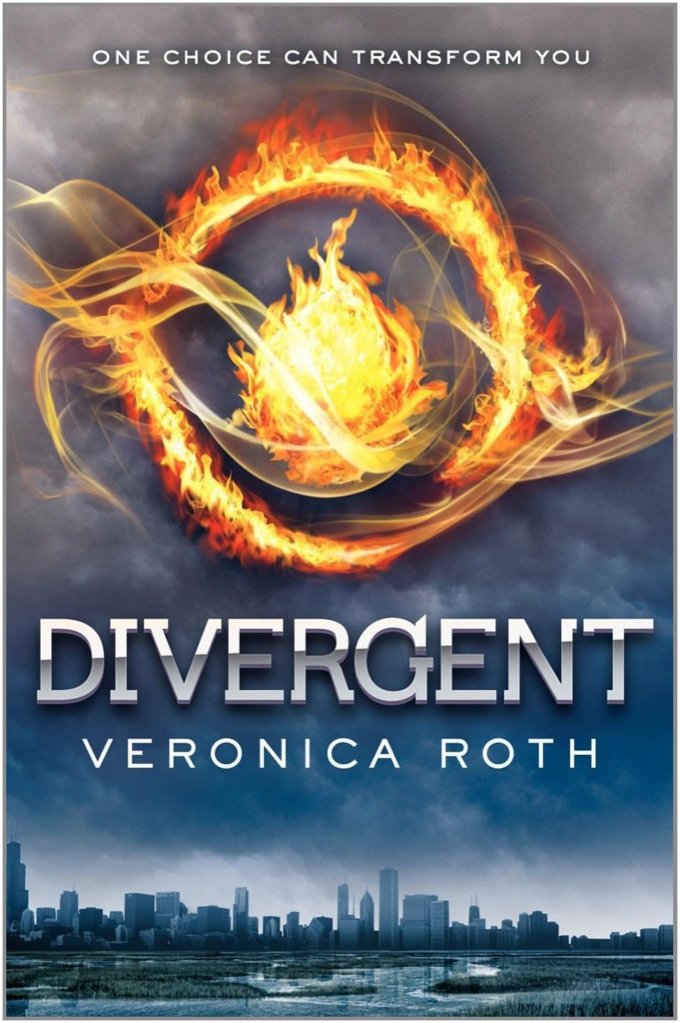
The first series they decided to tackle is the four novel, young adult fiction series of Divergent by Veronica Roth. They just finished the first book in the series titled Divergent. The first main installment in the series tells the story of Beatrice Prior, a teenager who lives in a post-apocalyptic Chicago in which society has been divided into five factions: Abnegation, Amity, Candor, Dauntless, and Erudite. Beatrice, a member of Abnegation, transfers to Dauntless at the age of 16, takes the new name Tris in the process, and forms a romantic relationship with a fellow Abnegation transfer, Tobias Eaton. As she eases herself into her new home, Tris slowly uncovers a conspiracy that threatens to tear the balance of the faction system.

After finishing the book, a few members of Team A wanted to share some of their thoughts with you!

Q: What we liked about the book?

A: It was very good. It was interesting and intense.

Q: What we liked about the movie?

A: It was interesting. Robbie liked the movie better. Brittany liked the book better.

Q: What did you not like about the book?

A: The book didn’t have much detail. Robbie didn’t like the main character.

Q: What did you not like about the movie?

A: It left out important details that happened in the book.

Q: What would you rate the book?

A: Brittany would rate the book 5/5. Robbie rated the book 2/5.

Q: What would you rate the movie?

A: Brittany rated the movie 5/5. Robbie rated the movie 4/5.

Q: Is there anything else you want to add?

A: We love reading a book and then watching the movie!

Thanks for reading our review and thoughts of the book! Stay tuned for us to read more of the books in the series!


FALL IS COMING EARLY TO A4L!

With summer beginning to wind down and many families going back to school, craft stores and stores everywhere have started to put their fall displays out! The Day Program took some inspiration from TikTok and a post they found on Facebook to make a fall themed craft. With most materials found cheaply at the Dollar Tree or Walmart and some common household items, they can use these to start decorating the program and their homes. They had so much fun making these cool fall wagons with pumpkins, mini hay bales and fake leaves to get their mind off the summer heat and work on their creativity! Our friends wanted to share their craft and how to make it with you!


Fall Pumpkin Wagon Tutorial

Materials

  • Brownie Pan (You can also sub a bread loaf pan.)
  • Jot Magnetic Tins
  • Flat Spatula
  • Spray Paint (Red or color of choice)
  • Black Acrylic Paint
  • White Acrylic Paint
  • Hot Glue
  • E6000 Glue
  • Mini Pumpkins
  • Toilet Paper
  • Fat Quarter Fabric or Fall Bandana or Scarf (Solid or Fall Themed Print)
  • Paper Bag
  • Mini Straw or Hay Bales
  • Fall Floral like Sunflowers
  • Fall Leaves
  • Battery-Operated LED Lights (optional)
  • Letter Stickers (optional)

Instructions

  1. Spray paint your brownie pan with red spray paint or color of your choice. Allow it to dry based on the instructions of the spray paint you chose.
  2. Take the lids off the magnetic tins and paint the inside clear circle with white acrylic paint and the outside metal parts with solid black paint to make your wheels.
  3. While your painted pieces are drying, place the toilet paper in the middle of your piece of fabric and wrap the fabric around it pushing the ends of the fabric inside the center of the roll.
  4. Roll your paper bag so it looks like a stem and stuff it into the center of the pumpkin. This will help hold your fabric in place, too.
  5. After your painted pieces are dry, using hot glue or E6000 glue, firmly glue the flat turner part of the spatula to the bottom of your pan to use as your wagon handle.
  6. Put the lids back on your magnetic tins and glue them to each of the corners of your pan to use as your wagon wheels.
  7. Begin decorating the rest of your wagon by gluing in your mini pumpkins leaves, flowers, and straw or hay bales in any arrangement you like. You can even break up your hay to use as filler in the bottom of your wagon. The choice is yours! Let your creativity show!
  8. If desired, use your letter stickers to decorate the outside of the wagon with fall phrases such as “Happy Fall,” “It’s Fall Y’all” or “Pumpkins.”
  9. Also if desired, arrange your LED lights around and in the wagon. You may need to glue or tape the lights to stay put exactly where you want them.
  10. Place your finished wagon where it makes you happy and enjoy your new fall craft!